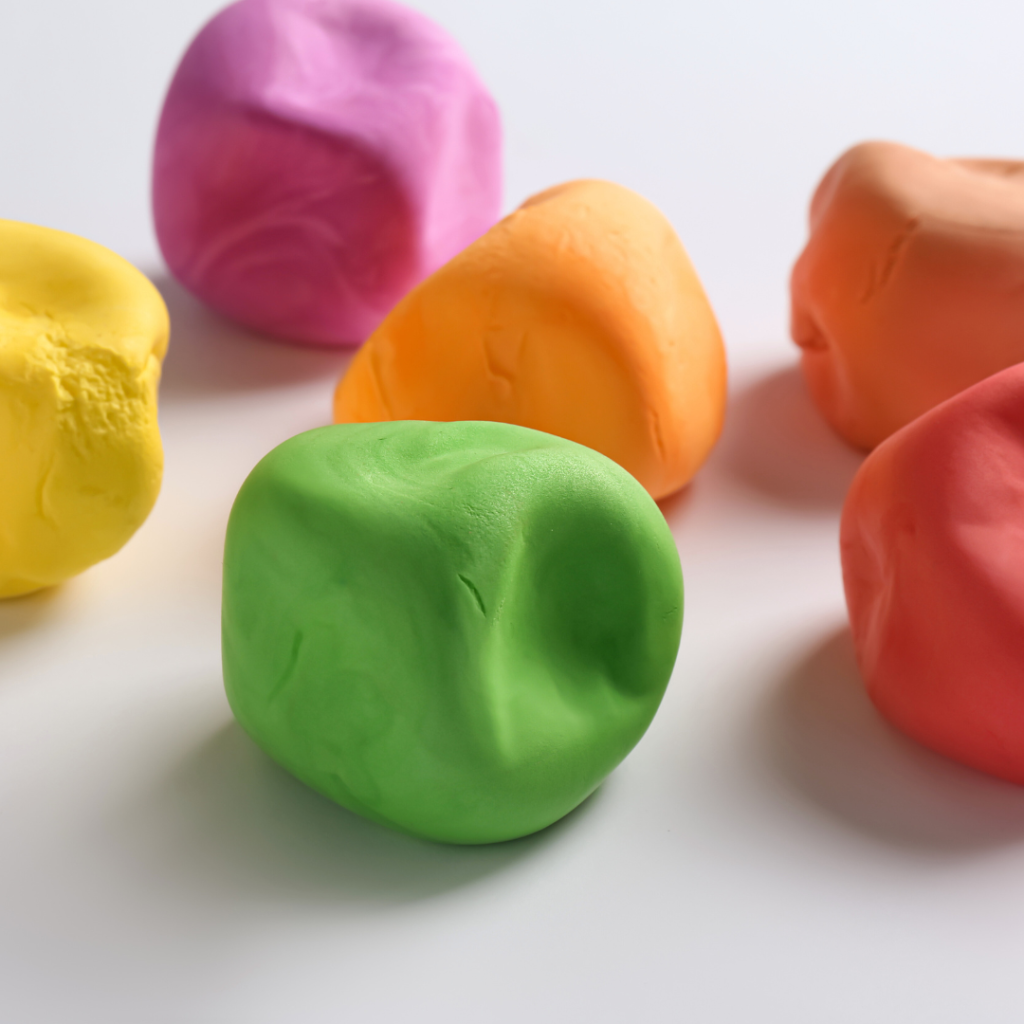
The Absolute Best No Cook Play Dough Recipe!

You know, when I was a kid, I don't even remember playing with play dough much. But let me tell you, when I became an early childhood teacher, that stuff became my jam! It sounds a bit dramatic, but honestly, play dough has had such a huge impact on my teaching life. I'm totally obsessed with it!
I keep play dough around all the time because of how awesome it is for kids. It's not just about squishing and shaping—there are so many benefits! It's great for fine motor skills, imaginative play, and it's a fantastic way for kids to connect and socialize.
Honestly, for a long time, I used to just buy play dough because it seemed cheap and easy. But man, was I wrong! The stuff I bought didn't last more than a day in my classroom. So, I decided to give making my own a shot.
I was nervous to try a play dough recipe on my own, because I didn't know what to expect!! But thankfully, I stumbled upon this no-cook play dough recipe that's been a game-changer. I found it on the Nurture Store website, and now I'm hooked. I'm even trying out their other play dough recipes because I hope they are just as amazing as the first recipe I tried.
So, without further ado, here's the scoop on this awesome no-cook play dough recipe that'll totally level up your play dough game!
I've made this play dough both on my own and with kids from 3 to 9 years old. If you're doing it solo, it takes maybe 10 minutes tops. With kiddos helping out, it might stretch to 20 minutes, but trust me, it's totally worth the extra time!
The Absolute Best No Cook Play Dough Recipe!
Ingredients:
- 2 cups flour
- 1 cup salt
- 2 tablespoons vegetable oil
- 2 tablespoons cream of tartar
- 1 1/2 cups hot boiling water
- 2 Tbsp of Glycerine (optional)
- Glitter (optional)
- Food Coloring (optional)
- Fragrance (optional)
Directions:
- Take a large bowl and add flour, salt, vegetable oil and cream of tartar
- Add in any extras such as: glitter, spices or fragrance
- Boil the kettle and pour 1 1/2 cups of boiled water into your mixture.
- Add in any food colouring at this stage so it mixes evenly through the dough.
- Mix the ingredients together to form a dough and you are ready to play. Add glycerine to make your dough more stretchy and smooth.
- If your dough is too sticky add more flour. If it is too crumbly add more oil.
- Want your play dough to last a long time? Wrap it up well in a plastic bag as soon as you’ve finished playing and your play dough could last for months.

So, you've got your hands on this awesome no-cook play dough recipe—now let's take it up a notch with these tips!
- The Magic of Glycerine: Ever wondered what makes play dough so smooth and stretchy? Glycerine is the secret ingredient! Adding a bit enhances the texture, making the dough more pliable and shiny. Trust me, it's worth it!g tool to use with little ones for play and learning!
- Colorful Creations: This recipe makes enough for about 4-6 servings for little ones. If you've got multiple kids who can't decide on one color have no fear!! Here's the trick: mix in food coloring after the dough is made. Just divide the dough, add a few drops of food coloring to each portion, and let your kiddos knead and squish to their heart's content. It's not just fun—it's a mini lesson in color mixing, teaching them how to create new colors by blending different shades.
- Adjusting Texture: Is your dough too sticky? No problem! Just sprinkle in a bit more flour until it's smooth and stretchy. On the flip side, if it's too crumbly and dry, add a touch more oil to get that perfect consistency.
- Storage Savvy: Want your play dough to last? After playtime, wrap it up tightly and store it in a plastic container or a sealed plastic bag. This keeps it fresh and ready for the next creative session. Our play dough is still going strong 2 weeks later and it still is as soft as it was on day one!!